

Harvest Shawl Knitting Pattern (3 versions)
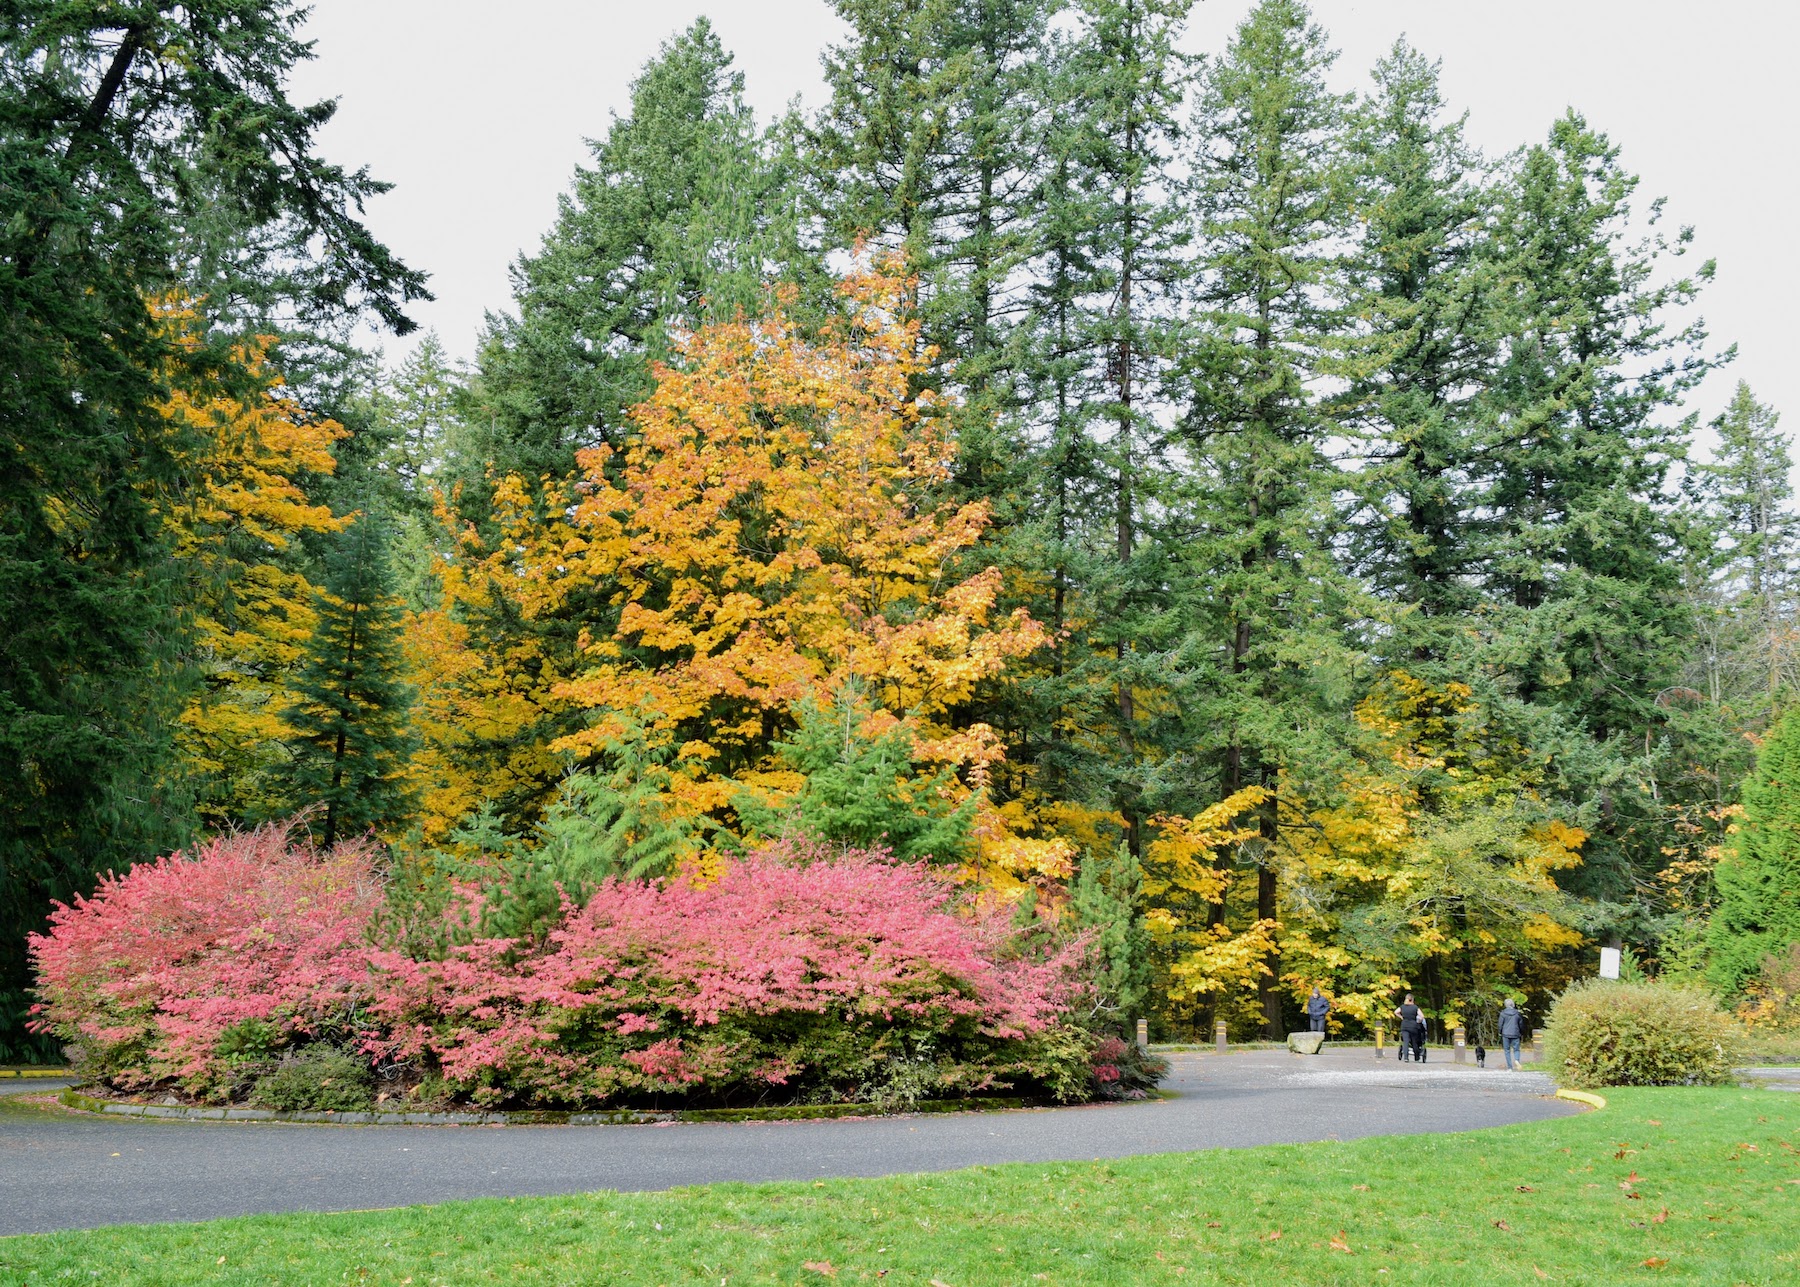
I love the wonderful colors of Autumn. Here in the Northwest, we not only see green but we are also blessed with colors of gold, orange, yellow and red from maple trees. The fresh cool air combined with misty rain and lively evergreens always give me such joy.
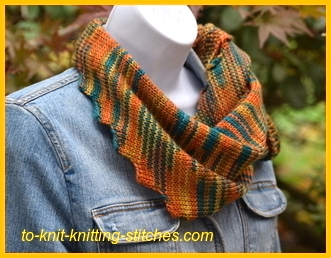
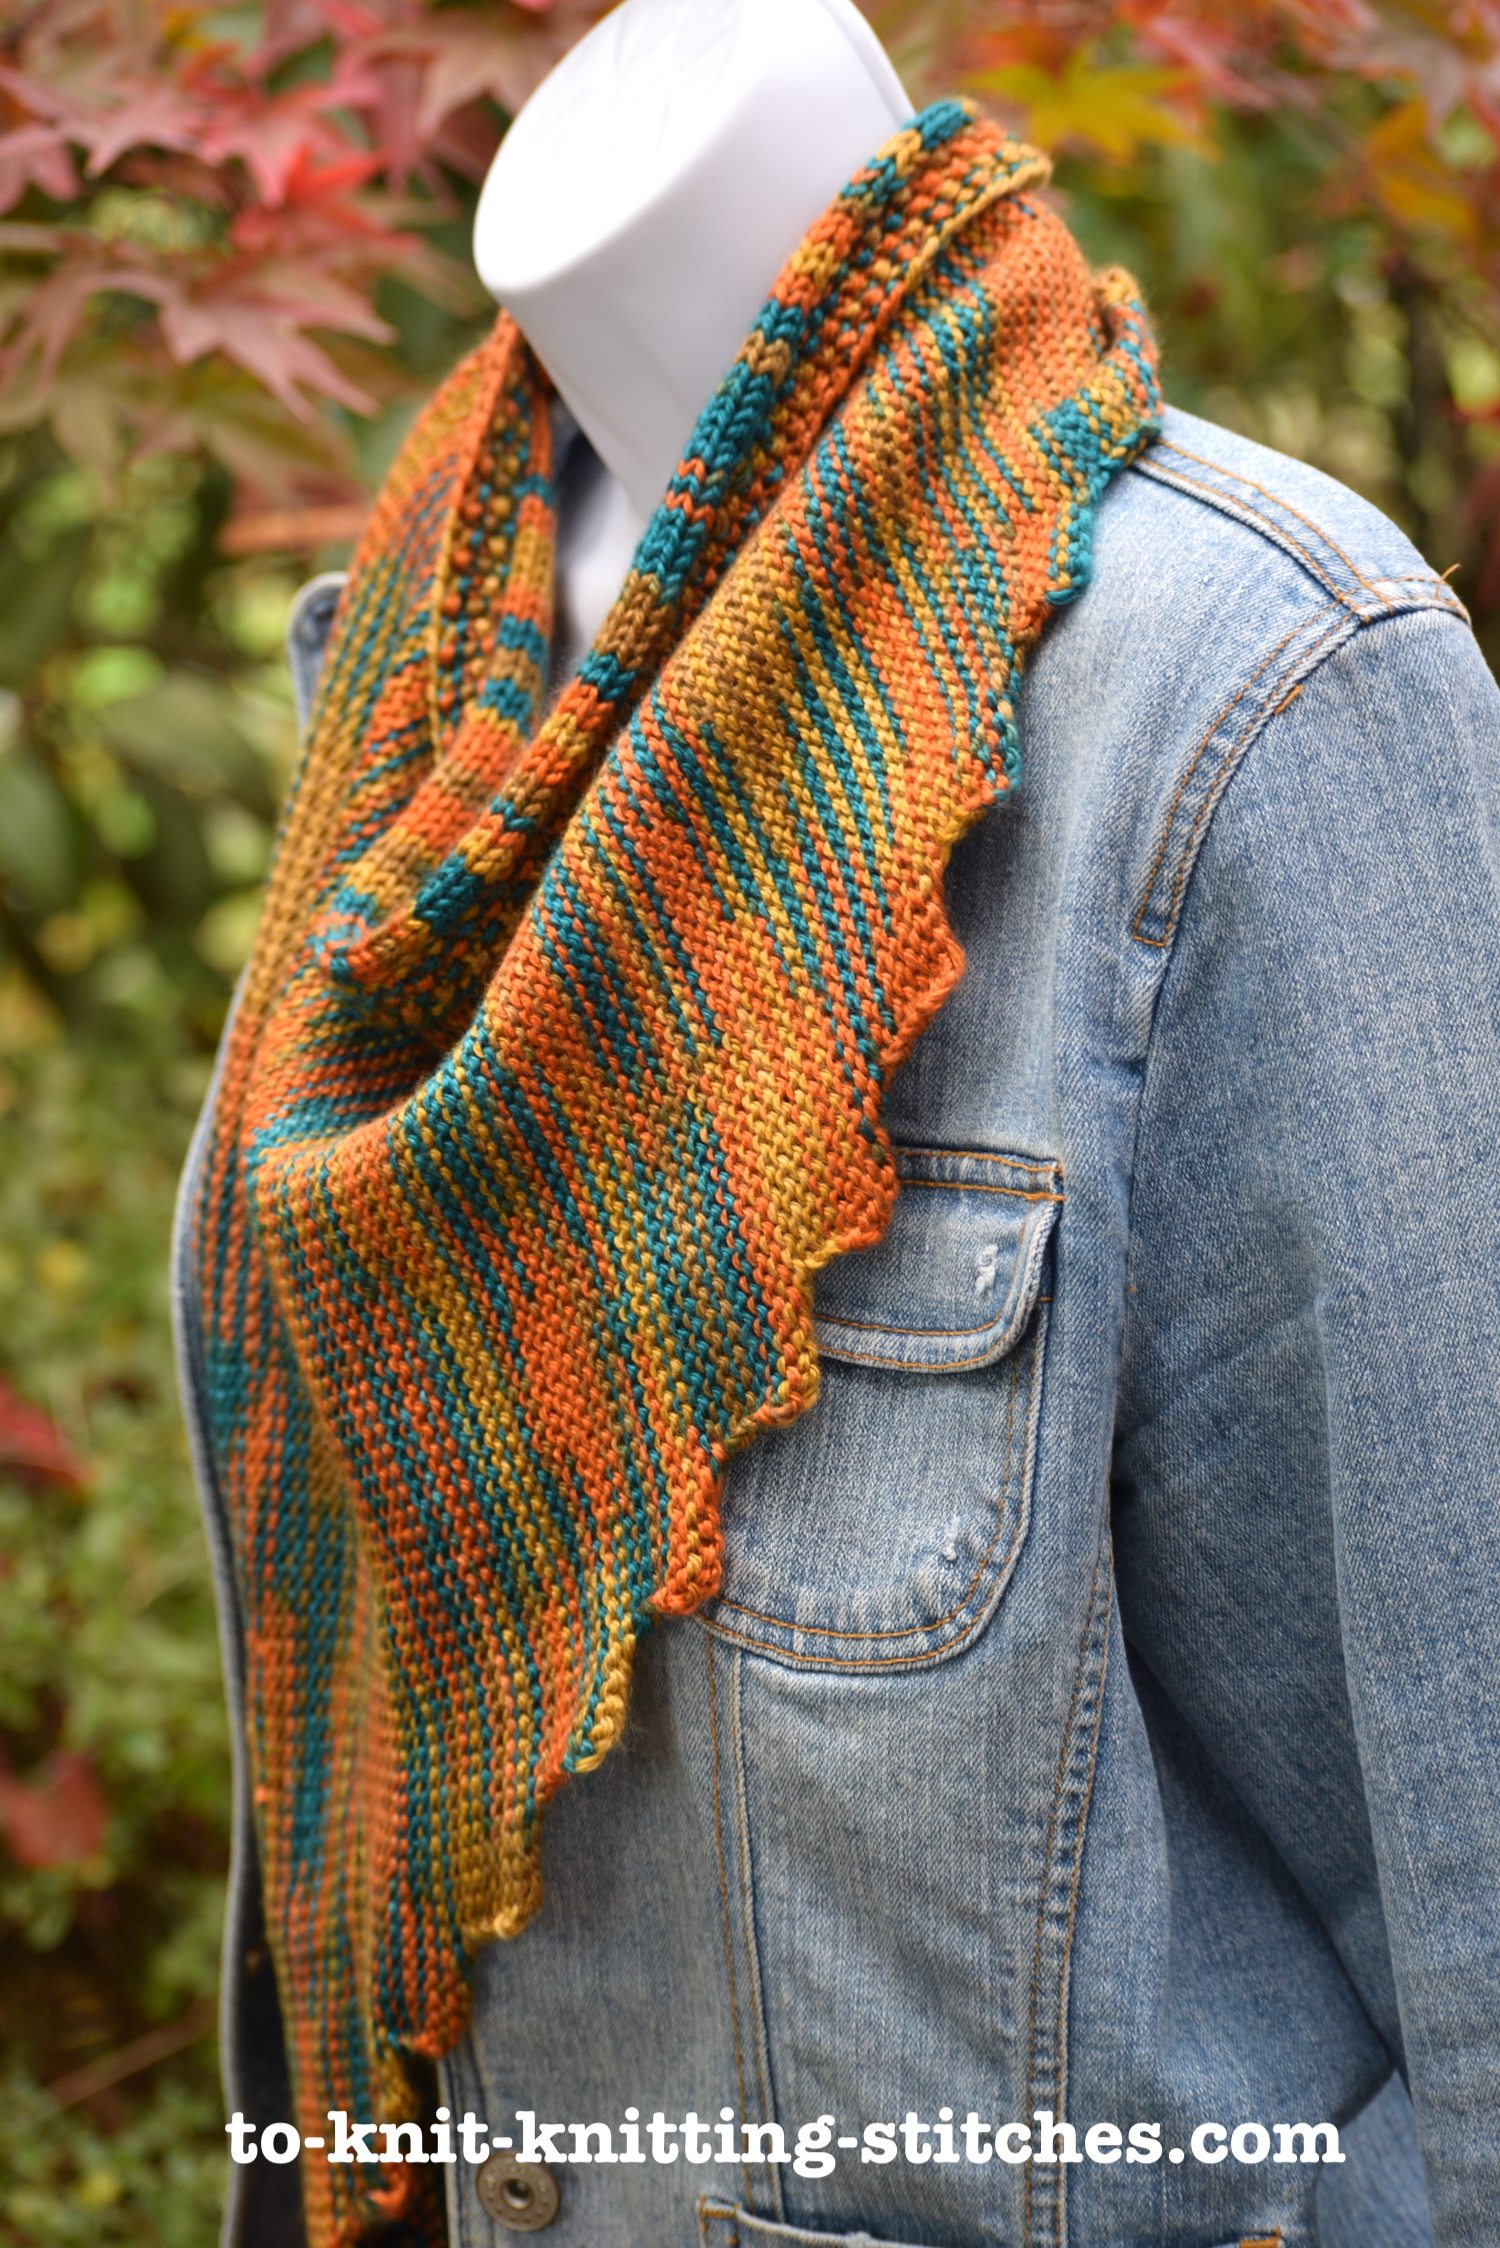
I saw this beautiful, variegated “Ombre Harvest Season” yarn by Yarn Bee at Hobby Lobby. I know I have it for my Fall’s project. I had an idea of making a small neck accessory with just one ball of yarn. Something that is super easy to knit.
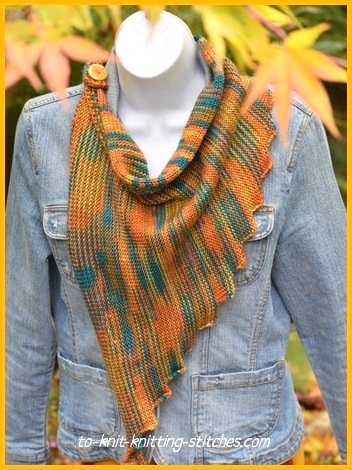
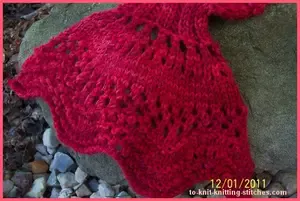
This harvest shawl uses only 100 gm of worsted weight yarn. It’s actually only half the size of a regular shawl and it works well if you want a neckwear that is not too bulky. It is a fun accessory to wear during the Fall season. You can make it in a garter or stockinette stitch pattern. The shawl in this photo is knitted in stockinette stitch with seed stitch at the right angle borders and a sawtooth edge at the other end. I found that the seed stitch borders still couldn’t completely prevent the edge from curling up a little bit. It doesn’t bother me because I like a little touch of curl and I do like the look of the reversed stockinette better actually. The shawl is knitted in rows but with a circular needle to give it more room to work with.
I have converted this pattern into a garter stitch and a machine knit as well. So, enjoy it!
If you can cast on, knit, purl and bind off then you should easily knit this shawl. I hope you give it a try because it’s a free pattern. If you’re a really newbie then I would suggest try pattern #1.
Gauge: 5 sts 6 rows per inch over stockinette stitch and US needle # 7 (4.5mm) .
Shape and size: It’s a right angle triangle shape shawl which measures about 20x21x26 inches and then formed into a loop at the cast on end.
Materials
1. 4oz/113g (about 200 yds) of worsted weight yarn in Fall colors ( I used Ombre Harvest Season by YarnBee).
2. At least 20 inch-long Circular Knitting needles #7 (4.5mm)
3. 2 Stitch markers
4. A button for Embellishment (optional)
5. Big eye needle
6. A row counter would be helpful
Note: This pattern works both with garter and stockinette stitch. So, take your pick! I also add a pattern for a machine knitter as well in pattern #3.
Here are the 3 Versions of the Pattern for the Harvest Shawl;
Pattern #1 Garter Stitch Harvest Shawl
Cast on 95 sts. Work 6 rows of a seed stitch border as follows;
Row 1: *k1, p1; repeat from * to the end of the row.
Row 2: knit the purl sts and purl the knit sts throughout the row.
Repeat row 1 and 2 two more times for a total of 6 rows for seed st. border.
Begin garter stitch body of the shawl as follows;
Knit 6 rows. Then follow the instruction below;
Row 1: Bind off 5 sts at the beginning of the row and knit to the end of the row.
Rows 2 - 6: Knit.
Repeat rows 1 through 6 until all stitches are worked.
Bind off the last 5 sts. Cut yarn and weave in the end. Sew the left and the right sides of the seed stitch border together to form a loop for the neck. You can add a button or a pin at the joining area if you want. Your harvest shawl is now done!
~~~~This is the end of pattern #1~~~~
Pattern #2 Stockinette stitch with seed stitch borders
Cast on 95 sts. Work a seed stitch border follows;
Row 1: *K1, P1; repeat from * to the end of the row.
Row 2: Purl the knit sts and knit the purl sts throughout the row.
Repeat rows 1 and 2 two more times (with a total of 6 rows).
Then follow the harvest shawl body as follows;
Row 1 (right side): K to the last 5 sts, place marker (PM), work the seed sts pattern on the last 5 sts. (Purl the knit sts and knit the purl sts).
Row 2 (wrong side): work the seed sts pattern on the first 5 sts, slip marker (SM) purl to the end of the row.
Row 3: As row 1.
Row 4: As row 2.
Row 5: As row 1.
Row 6: As row 2.
Row 7: Bind off 5 sts loosely. Knit to the last 5 sts, SM, work 5 sts of the seed st pattern.
Repeat rows 2 - 7 until all sts have been worked leaving only 5 sts of the seed stitch border. Continue working on the last 5 sts in seed sts for 5 rows. Then bind off in seed sts. (You work each stitch according to the seed stitch pattern and bind off each stitch as you go). Cut yarn and weave in the end.
Block or steam the shawl as needed. Sew the left and the right sides at the cast on end together to form a loop to hang around your neck. Add a button or a pin as an embellishment if you want. You’re welcome to send me a finished photo and I’ll post it on my website.
~~ This is the end of the Harvest Shawl Knitting Pattern #2 ~~~~
Pattern #3 Harvest Shawl Standard (4.4mm) Machine knitting Pattern with a hand knit seed stitch border.
The shawl starts with 5 sts using every other needle and then increases 5 sts every 6 rows. Work from the far right side of the bed to the end of the left side. Then the border is hand knitted to it at the end. If you prefer not to hand knit it then you can add another type of border using your machine.
Materials
1. 4 ounce/113 g of worsted weight yarn in Fall color ( I used Ombre Harvest Season by YarnBee).
2. Single bed knitting machine that can take worsted weight yarn
3. A lot of claw weights
4. 20 inches or longer in length of Circular knitting needles 4.5mm for handknit border
Note: For a standard machine, use every other needle because the yarn is too thick to knit on every needle. If you use a bulky machine then you don't have to skip needles. You will need a lot of small claw weights for this project.
Direction
With carriage on the right, bring forward 5 needles to the E position starting from the far end of the right side. (remember to use every other needle for a standard machine). With the main yarn e-wrap these 5 sts starting from the far left. Place the yarn in a carriage and work the followings;
Knit 7 rows. Try bringing the needles out to the E position when knitting the first few rows then you can start hanging the weight after that.
*Next row (increase row): Bring forward the next 5 needles on the left side of work and do a backward e-wrap cast on (the yarn goes under the first empty needle on the left side and comes down on the right and goes up on the left side of the next empty needle). Knit 6 more rows; repeat from * until you have 100 sts total. Carefully hang a craw weight each time when starting a new increase. Knit 10 rows of wasted yarn and remove work from the machine.
Place all 100 stitches on a circular needle and knit a seed stitch or a garter stitch border for 6 rows, then bind off. Pick up 100 stitches along the other border and knit the same border. Block piece, seam the left and the right sides together to form a loop to hang on your neck. Add a button or a pin if you’d like. Have fun wearing your own Harvest shawl.
~ This is the end of pattern # 3 ~
Return to Knitting Instructions Home Page
Go to Free Scarf Knitting Patterns Page

You might like these
Feather and Fan Neck Scarf - Free Scarf Knitting Pattern
This Feather and Fan neck scarf is knitted with a 50 gram ball wool. Beautiful and make a great gift for your love one.
Lacy Zigzag Scarf - Easy To Knit And Beautiful Lace Scarf
Beautiful Lacy zigzag scarf free knitting pattern. This scarf knitted with luxurious Fiesta La Boheme in Starbust.
Free Scarf Knitting Patterns - Easy Scarf For Beginner
You can find easy and free scarf knitting patterns here. Many of them are designed by myself and many are from knitters around the web. Hope you enjoy them!


Recent Articles
-
increasing in sleeve
Apr 11, 26 01:00 AM
the pattern says: inc 1 st at each end of foll 8TH ROW TILL 66 STS. cont in pattern till work measures 26cm. I have tried this 3 times and it does not


